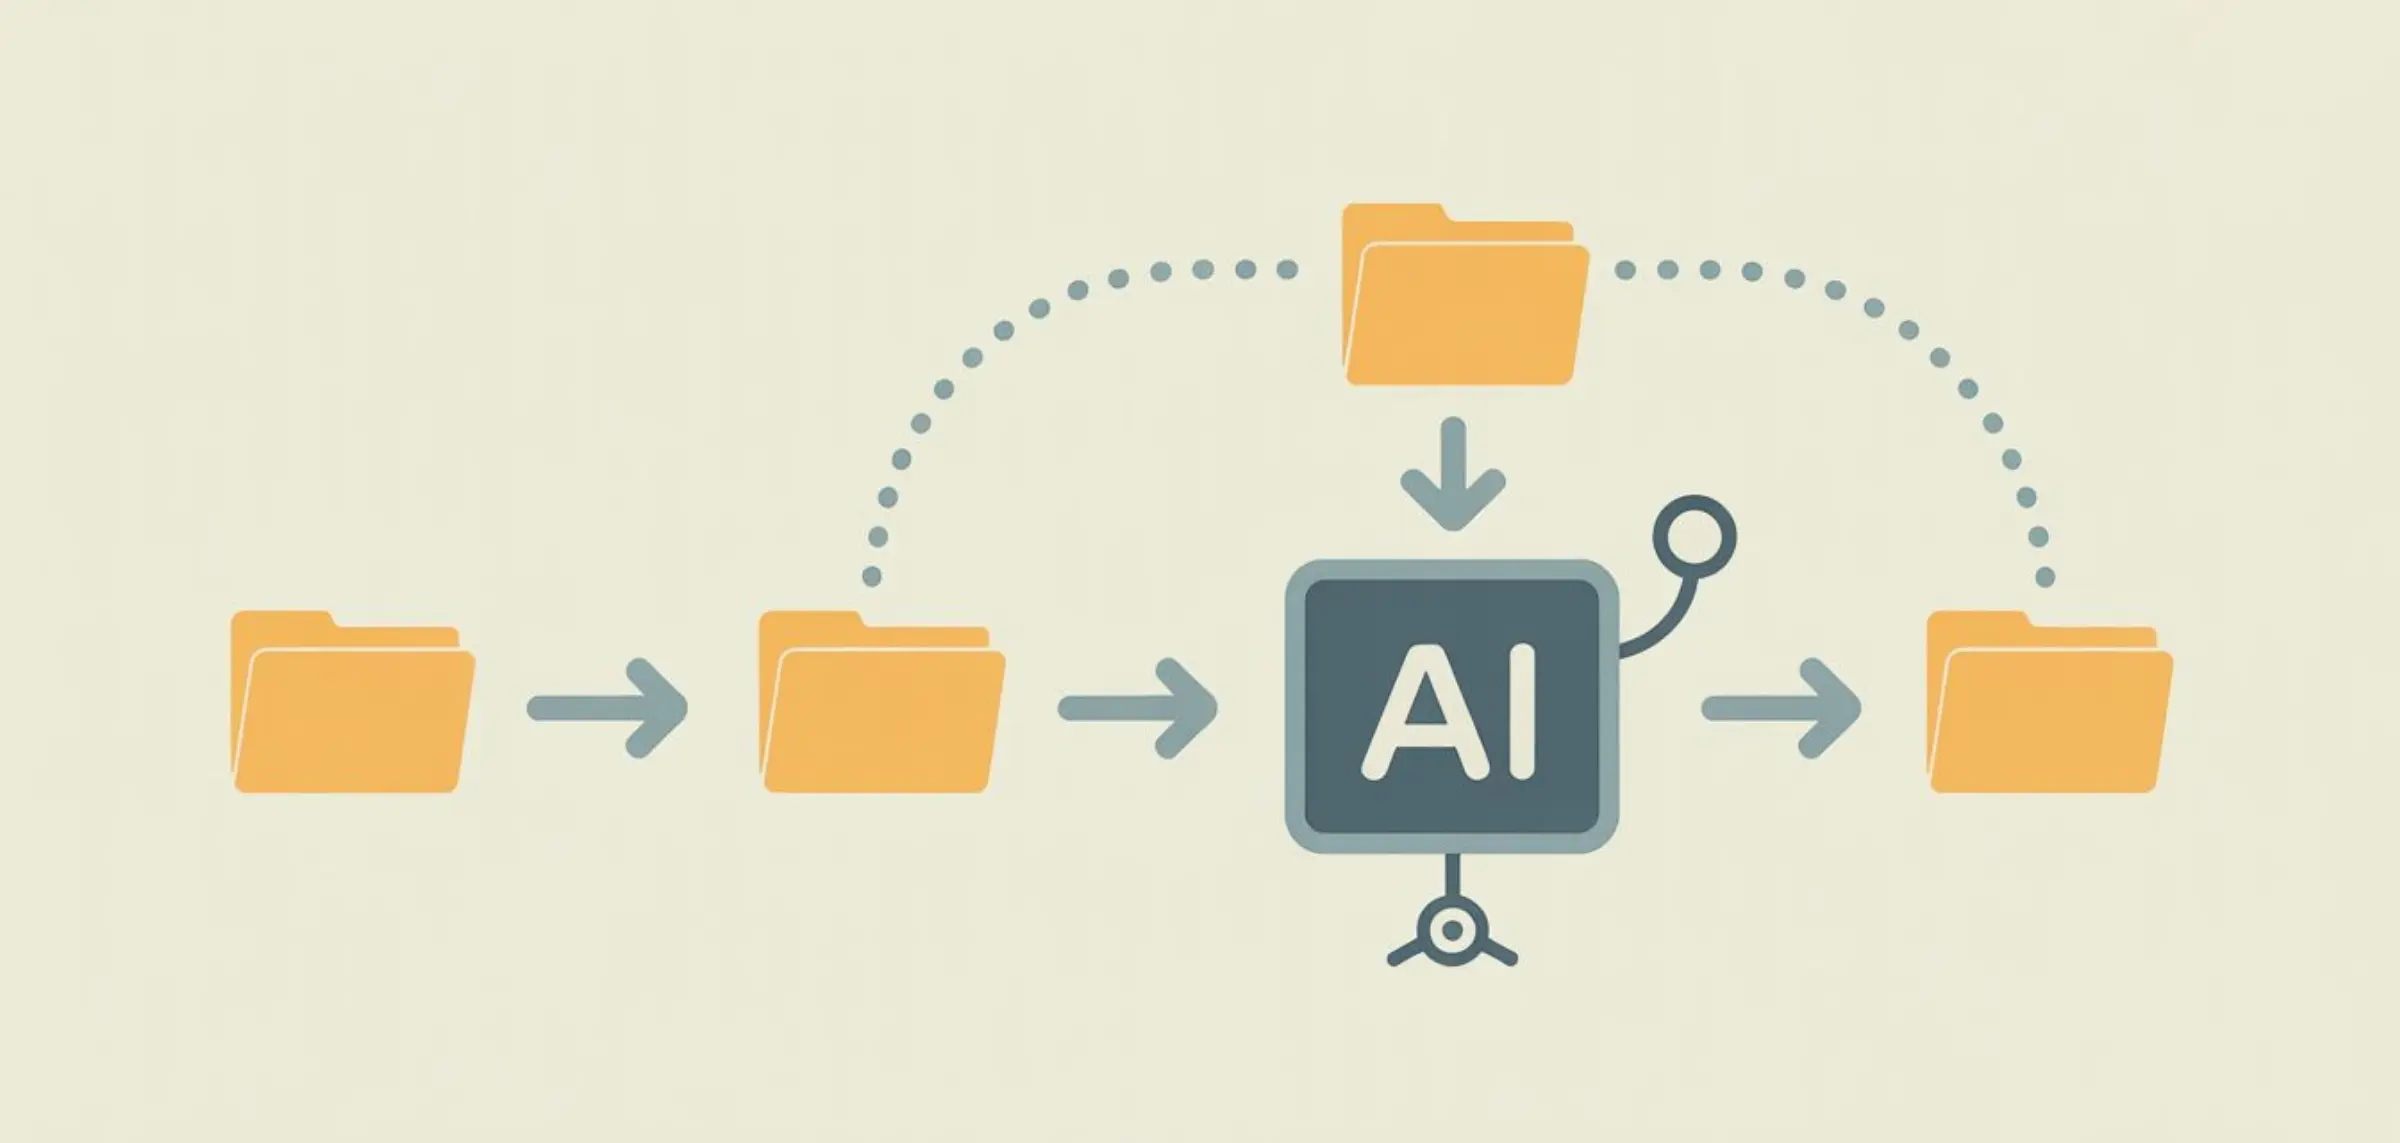
Creating a Claude Skill sounds like it should be complicated. It’s not. A skill is just a Markdown file with instructions. No SDK. No build step. No deployment pipeline. You write a text file, save it in the right folder, and your AI agent immediately gets better at that specific task. Anthropic’s own skill-creator tool has been installed 40,300 times — which tells you there’s HUGE demand for this. This guide gives you a clear starting point. By the end, you’ll have a working skill installed and running — in about 15 minutes.
What You’ll Build
By the end of this tutorial, you'll have a custom SKILL.md file that:
- Automatically activates when your AI agent detects a relevant task
- Contains step-by-step instructions your agent follows
- Includes examples of good and bad output
- Works across 18+ AI agent platforms (Claude Code, Cursor, Codex, Gemini CLI, and more)
The whole thing is a single file. Typically between 50 and 500 lines of Markdown.
That's it.
Step 1: Pick a Task You Repeat
This is the most important step. Get this right and everything else flows naturally.
Ask yourself: What task do I keep asking my AI agent to do — and keep having to correct the output?
Maybe you:
- Write API documentation in a specific format your team uses
- Generate SQL queries that follow your company's naming conventions
- Create commit messages in a particular style
- Draft emails with a specific tone and structure
- Build React components following your team's patterns
The best tasks for a first skill share three traits:
Repeatable. You do it at least a few times per week.
Correctable.You know exactly what "good" looks like — and you can spot when it's wrong.
Specific.It's a defined task, not a vague capability.
Here's the deal:
You don't need to pick something complicated. The simplest skills are often the most useful. "Always use our company's SQL naming conventions" is a perfectly good first skill.
Pro Tip:Look at your last 20 conversations with your AI agent. What did you correct most often? That's your first skill.
Step 2: Create the SKILL.md File
Every skill lives in a single file called SKILL.md.
Create it anywhere on your machine. We'll move it to the right location in Step 7.
The file has two parts:
Part 1: YAML Frontmatter
This is the metadata at the very top of the file, wrapped in triple dashes:
---
name: my-first-skill
description: "A brief description of what this skill does and when to use it"
---
That's the entire metadata section. Two fields.
name: A short identifier. Lowercase, hyphens instead of spaces.description: A one-to-three sentence explanation of what the skill does and when it should activate.
Part 2: Instructions
Everything below the frontmatter is the actual content — the instructions, examples, and rules your AI agent will follow.
Here's the simplest possible SKILL.md structure:
---
name: my-first-skill
description: "Brief description of when to trigger this skill"
---

# My First Skill

## When to Use This Skill
[Explain when this skill should activate]

## Instructions
[Step-by-step directions]

## Examples
[Show good and bad output]

## Common Mistakes to Avoid
[List anti-patterns]
That's the skeleton. Now let's fill it in.
Step 3: Write the Trigger Description
The description field in your frontmatter is CRITICAL.
This is what your AI agent reads to decide whether to activate your skill. If the description is vague, the skill won't trigger when it should. If it's too broad, it'll trigger when it shouldn't.
Here's the difference:
Bad description:
"A skill for writing documentation"This is too vague. What kind of documentation? When should it trigger? Your agent won't know.
Good description:
"Use this skill whenever the user asks to create, update, or review API documentation. Triggers include mentions of 'API docs', 'endpoint documentation', 'swagger', 'OpenAPI', or requests to document REST APIs. Also use when the user references the company documentation style guide."See the difference? The good version lists SPECIFIC trigger words and scenarios. It tells the agent exactly when to activate.
The formula:
"Use this skill whenever [general trigger]. Triggers include [specific words and phrases]. Also use when [edge cases]."Spend a few minutes on this. A great description means your skill activates reliably every single time.
Step 4: Write the Instructions
This is the core of your skill. Think of it as writing instructions for a smart new hire who's doing this task for the first time.
Be specific. Be explicit. Don't assume knowledge.
Here's a framework that works for almost any task:
Start with the Goal
One sentence explaining the end result.
## Goal
Generate API documentation that follows our company's standard format and is ready to publish without editing.
List the Steps
Walk through the process in order. Include settings, tools, and decisions.
## Steps

### Step 1: Analyze the Code
Read the provided code and identify all public endpoints, methods, parameters, and return types.

### Step 2: Write the Overview
Start every API doc with a 2-3 sentence overview explaining what the API does and who it's for.

### Step 3: Document Each Endpoint
For each endpoint, include:
- HTTP method and path
- Brief description (one sentence)
- Parameters table (name, type, required, description)
- Response format with example JSON
- Error codes and their meanings

### Step 4: Add Authentication Section
Always include an authentication section explaining required headers.
Include Specific Formatting Rules
If you want consistent output, spell out the formatting:
## Formatting Rules
- Use H2 for endpoint groups, H3 for individual endpoints
- Parameter tables must use this exact column order: Name | Type | Required | Description
- Code examples use triple backticks with the language specified
- All JSON examples must be valid and properly indented
The more specific your instructions, the more consistent your output. Don't be afraid of going into detail — that's the whole point.
Step 5: Add Examples (Good and Bad)
Examples are the single most effective thing you can add to a skill.
Why? Because AI agents learn patterns from examples MUCH faster than from abstract rules.
Include at least one "good" example and one "bad" example.
Now here's where things get interesting:
The bad example is just as important as the good one. It shows your AI agent the specific failure modes to avoid. Without it, the agent might produce output that's technically correct but doesn't match your standards.
Step 6: Add Anti-Patterns
Anti-patterns are explicit "NEVER do this" rules.
These prevent the most common mistakes that instructions alone can't fix.
This is a technique borrowed from the best skills in the ecosystem. Anthropic's own docxskill includes rules like "Never use unicode bullets" and "Never use \n— use separate Paragraph elements."
Those specific "never" rules prevent exactly the failure modes that generic instructions miss.
Pro Tip:After you test your skill (Step 8), come back and add anti-patterns for every mistake your agent makes. This section grows over time — and that's exactly how it should work.
Step 7: Save and Test
Save your file as SKILL.mdand place it in your agent's skill directory.
Here's where to put it on each platform:
| Platform | Directory Path |
|---|---|
| Claude Code | .claude/skills/my-first-skill/SKILL.md |
| Cursor | .cursor/skills/my-first-skill/SKILL.md |
| OpenAI Codex | .codex/skills/my-first-skill/SKILL.md |
| Gemini CLI | .gemini/skills/my-first-skill/SKILL.md |
| Claude.ai | Upload to Project Knowledge |
For project-specific skills, put the skill folder inside your repo:
your-project/
├── .claude/
│   └── skills/
│       └── my-first-skill/
│           └── SKILL.md
├── src/
├── package.json
└── ...
Now test it. Give your agent a task that should trigger the skill.
Did it activate? Check whether the output follows your instructions, matches your examples, and avoids your anti-patterns.
Step 8: Refine Based on Output
Your first version won't be perfect. That's expected.
The best skills go through 3-5 rounds of refinementbefore they're really dialed in. Here's the process:
Round 1: Run 3-5 tasks. Note every mistake or inconsistency in the output.
Round 2: Add anti-patterns for each mistake. Tighten instructions where the output was close but not quite right.
Round 3: Run 3-5 more tasks. The output should be significantly better. Add any remaining edge cases.
Round 4+:Fine-tune. At this point, you're polishing — adjusting wording, adding one more example, handling an edge case you didn't anticipate.
Here's the key insight:
The refinement process IS the value. Every round makes your skill more precise. And once it's dialed in, it saves you time on every single task — forever.
Think of it as an upfront investment. 30 minutes of refinement saves 5 minutes per task, multiplied by hundreds of future tasks.
Three Starter Templates You Can Copy
Don't want to start from scratch? Here are three templates you can copy and customize.
Template 1: Code Style Skill
For enforcing coding conventions on your team.
Template 2: Writing Style Skill
For maintaining a consistent voice across content.
Template 3: Task Automation Skill
For standardizing a repeatable process.
Each template includes YAML frontmatter, goal statement, step-by-step instructions, naming conventions, formatting rules, and anti-patterns. Copy any template and customize it for your specific use case.
Where to Put Your Skill
You've got three main options depending on your use case:
Personal Skills (Just for You)
Put the skill in your home directory's agent config:
~/.claude/skills/my-skill/SKILL.mdThese load for every project you work on.
Project Skills (For Your Team)
Put the skill inside your repo:
your-project/.claude/skills/my-skill/SKILL.mdEveryone who clones the repo gets the same skills. They version-control with the rest of your code. This is the recommended approach for teams.
Claude.ai Projects (No CLI Needed)
If you use Claude.ai in the browser:
- Open your project
- Go to Project Knowledge
- Upload your
SKILL.mdfile
Claude uses that skill in every conversation within that project. No terminal required.
FAQ
Now It's Your Turn
You now have everything you need to create your first skill: a clear process (8 steps), three starter templates you can copy today, and the knowledge of where to put it and how to test it. Start with one task you repeat often. Write the skill. Test it. Refine it. Every skill you create makes your AI agent permanently better at that specific thing. The compound effect is real — and it starts with one SKILL.md file.
Browse All Skills